 ....four by four!
 Tee hee - this is so much fun!
 Sewing the first row of blocks together later!
 The quilt book instructions are to sew each pair of mini blocks together - which I've tackled tonight - then sew upper & lower pairs to make blocks, & then the blocks together to make the quilt top.
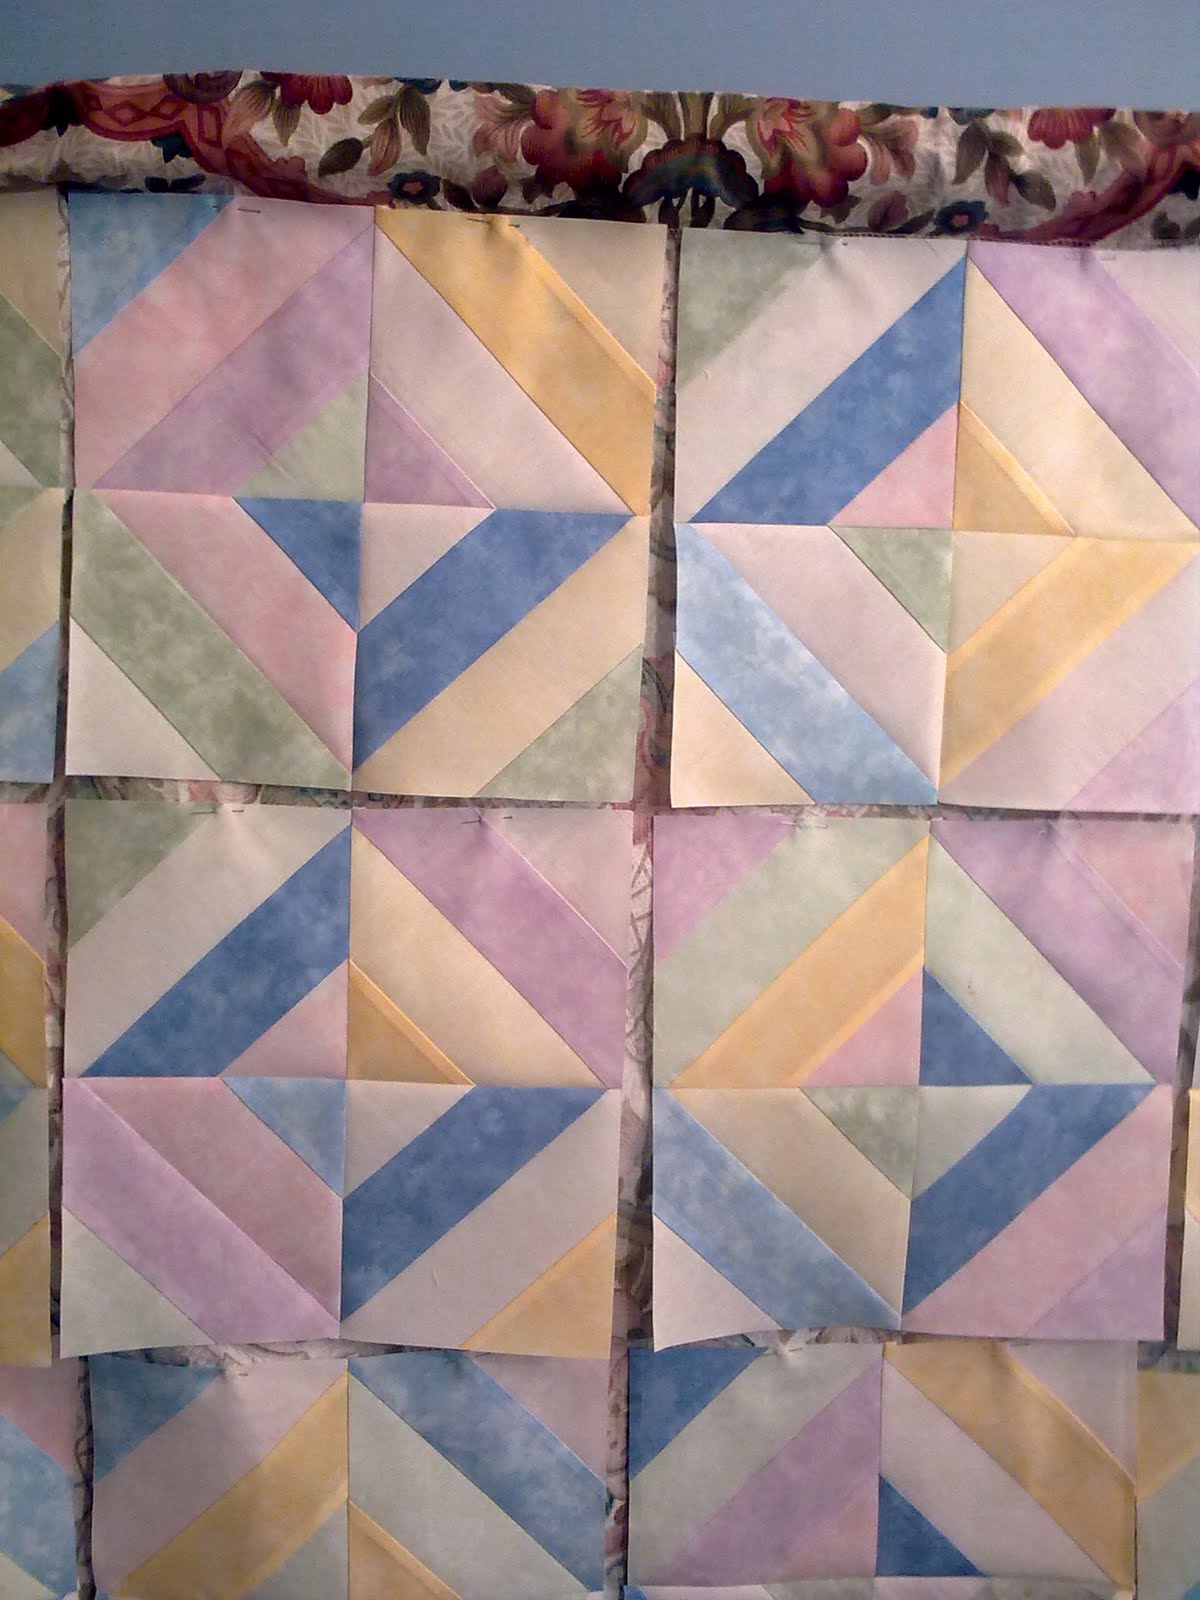
 And now for the beginner's question - there are 80 mini blocks here, & it's going to take some while for me to sew them all together (the book says to piece into pairs, then each pair (top) to each pair (bottom) to give twenty 11" blocks, which are then sewn together.)
  Then there's green diamonds in the corners....
 ... and back to random.
 With all the triangles cut, opened and pressed into quarter blocks, I've been testing out the various ways to lay them out.
 So I started by laying out the blocks as per the design in the book (light stripe abutting dark stripe all the way through).
 Then had a play with picking out diamonds in different colours, then all diamonds.
 I'm taking pics all the way (what a great tip, thank you Bilbo!) so I can get back to the design I like the best - but I have to say, that it's the original that I prefer at the moment.
  You can dither too long with these things (& this proves that there is such a thing as too much choice!), so I'll decide this weekend, then I can start piecing.
  Just how much fun am I having with this?
  Having been sternly warned of the difficulties of cutting fabric on the diagonal, and how the resultant triangles can go all stretchy if not handled with respect, I have invested 98p in a can of spray starch & have liberally applied to each side of the fabric tubes & pressed them with a dry iron them such that they are stiffer than the board.
 Then I had to go and have a sit down - there is a distinct lack of room for error here (unless I wish my garden trellis quilt to consist of 79 and not 80 small squares...)
 Then I couldn't resist a little play - the contrast might not be all there, but this is going to be so Spring-like, it's not true - I love it!

 Here's the extract - with instruction on using an Omnigrid 98l, but also giving instructions to cut if you don't have a triangle cutting ruler (that's me) taking your ruler and marking with tape a line running across the corner, 6 1/2" along each edge. Handily, my Creative Grids ruler already has this line marked on (but I put this red tape line across anyway, for clarity).
 Well, when I line up my tape edge with the bottom of the tube, the point pokes above the top end by about 1/4" - enough to make a triangle with a chopped off top.
  So to the crux of the matter: should the triangles should be just that - triangles - with the purple lines I've drawn with the air eraser pen zigzagging properly point-to-point all the way along the tube?
 Joanna quite rightly points out that the excerpt at the top is the instructions for Omnigrid 98L users - so here is the extra bit of instruction which is relevant to non-Omnigrid users (me!).
 That felt like a very productive evening!
 I've decided that I like this Garden Trellis Quilt most of all, and I plan to start sewing the strips together this evening.
  As it turns out, it's a good job that I didn't do more yesterday, because having had a look round at what all the other QAL bloggers have been up to, I spotted that Lynn had laid out her blocks slightly differently - so I had a play with mine & once happy with what I'd got, I put them both together - so now there are four blocks.
 But because the abbey crunch style biscuits are not Christmassy - delicious though they are - they don't more than a passing mention here.
 So I have a great pile of half square triangles pieced and cut - now I need to trim them before putting the sewing the whole lot together...
 I haven't gone & squandered a load of my hard-earned on a new machine (not just yet, anyway!), but swapped machines with mum for the time being.
  How exciting - today is the second Saturday in the month, which can only mean one thing - the Christmas Quiltalong is with us!
So good morning to all who are taking part this month, and - of course - many thanks go to Quiltsue and Cathi (Sue hosting this month) for organising.